How to Fix a Patchy Lawn
Filling in bare or dead patches of lawn can be easily accomplished by installing grass plugs or laying down new squares of sod. Soil should be level and free of weeds and dead grass before installation; afterward, thorough watering is important.
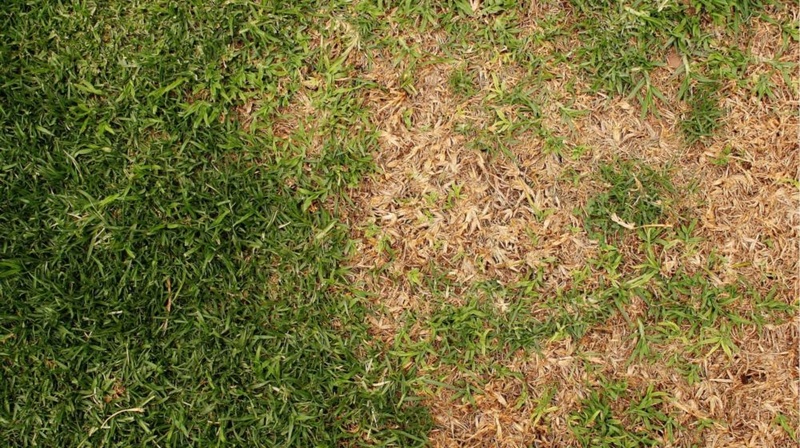
Homeowners in master planned communities where landscape maintenance is provided need not worry when their lawns develop bare patches. The fix is accomplished with a simple phone call.
However, for homeowners who manage their own lawn and landscape care, it’s a different story. You must either fill in the patches yourself or hire a handyman to do it for you.
Replacing dead grass patches is, of course, a less complex project than re-sodding an entire lawn. You just need a shovel or trowel and squares or plugs of replacement grass.
Step One: Plugs or Squares?
First decide if you will use plugs or squares. Typically, grass plugs come in trays of 36 plugs—small cubes of soil with grass. Plugs are planted 6-12” apart. Squares can be purchased singly or by the pallet. A pallet of sod squares covers 400-500 square feet (varies by vendor).
Squares of sod cut to fit bare areas will produce instant full coverage. The same bare area installed with plugs will take weeks for full coverage as runners grow out from the plugs and interconnect.
People generally choose plugs as a cost-saving strategy.
Step Two: Measure Bare Areas
Determine how much sod you need to purchase by measuring the bare areas that need filling. Figure out oval areas by measuring the space lengthwise and crosswise. Calculate that square footage and subtract about 1/5 of the total for the corners.
Repeat that process for all bare patches to determine how many total squares or plugs you will purchase.
Step Three: Installation
Purchase plugs or squares and a trowel and spade.
Plug installation is as easy as digging a hole in the bare area with a trowel, popping the plug out of the tray, and setting it into the hole, backfilling with dirt to secure the plug.
To install squares of sod, first clean dead grass out of bare area. Lay squares onto area, trimming excess so that edges butt up against each other and the patch is filled in neatly.
Whether installing plugs or squares, make sure there are no gaps between the soil and the underside of the sod piece. The roots of the sod need to be in contact with the soil underneath.
Step Four: Irrigate
Newly installed plugs or squares must be watered well and often. Do not let new sod dry out.
Re-sodding a Whole Lawn
This is a much bigger project than filling in a few bare patches of lawn. It requires preparing the soil—removing old sod (rent a sod cutter), rototilling the earth (rent a rototiller), and adding amendments like compost and claylike soil for improved drainage. Leveling the ground comes next, either manually with an iron rake or, on large properties, by pulling a weighted board behind a riding mower.
Lay a roll or line of sod squares down the longest straight edge of the yard and use that as the plumb line from which to lay successive rows. Trim off edges of sod that butt up to driveways and sidewalks.
Water thoroughly immediately and then every morning for the first week, every other morning for the second week, and then twice a week after that. If you lay the sod during the summer, you may need to water it daily for several weeks. Mow it with a walk-behind mower for the first cut.